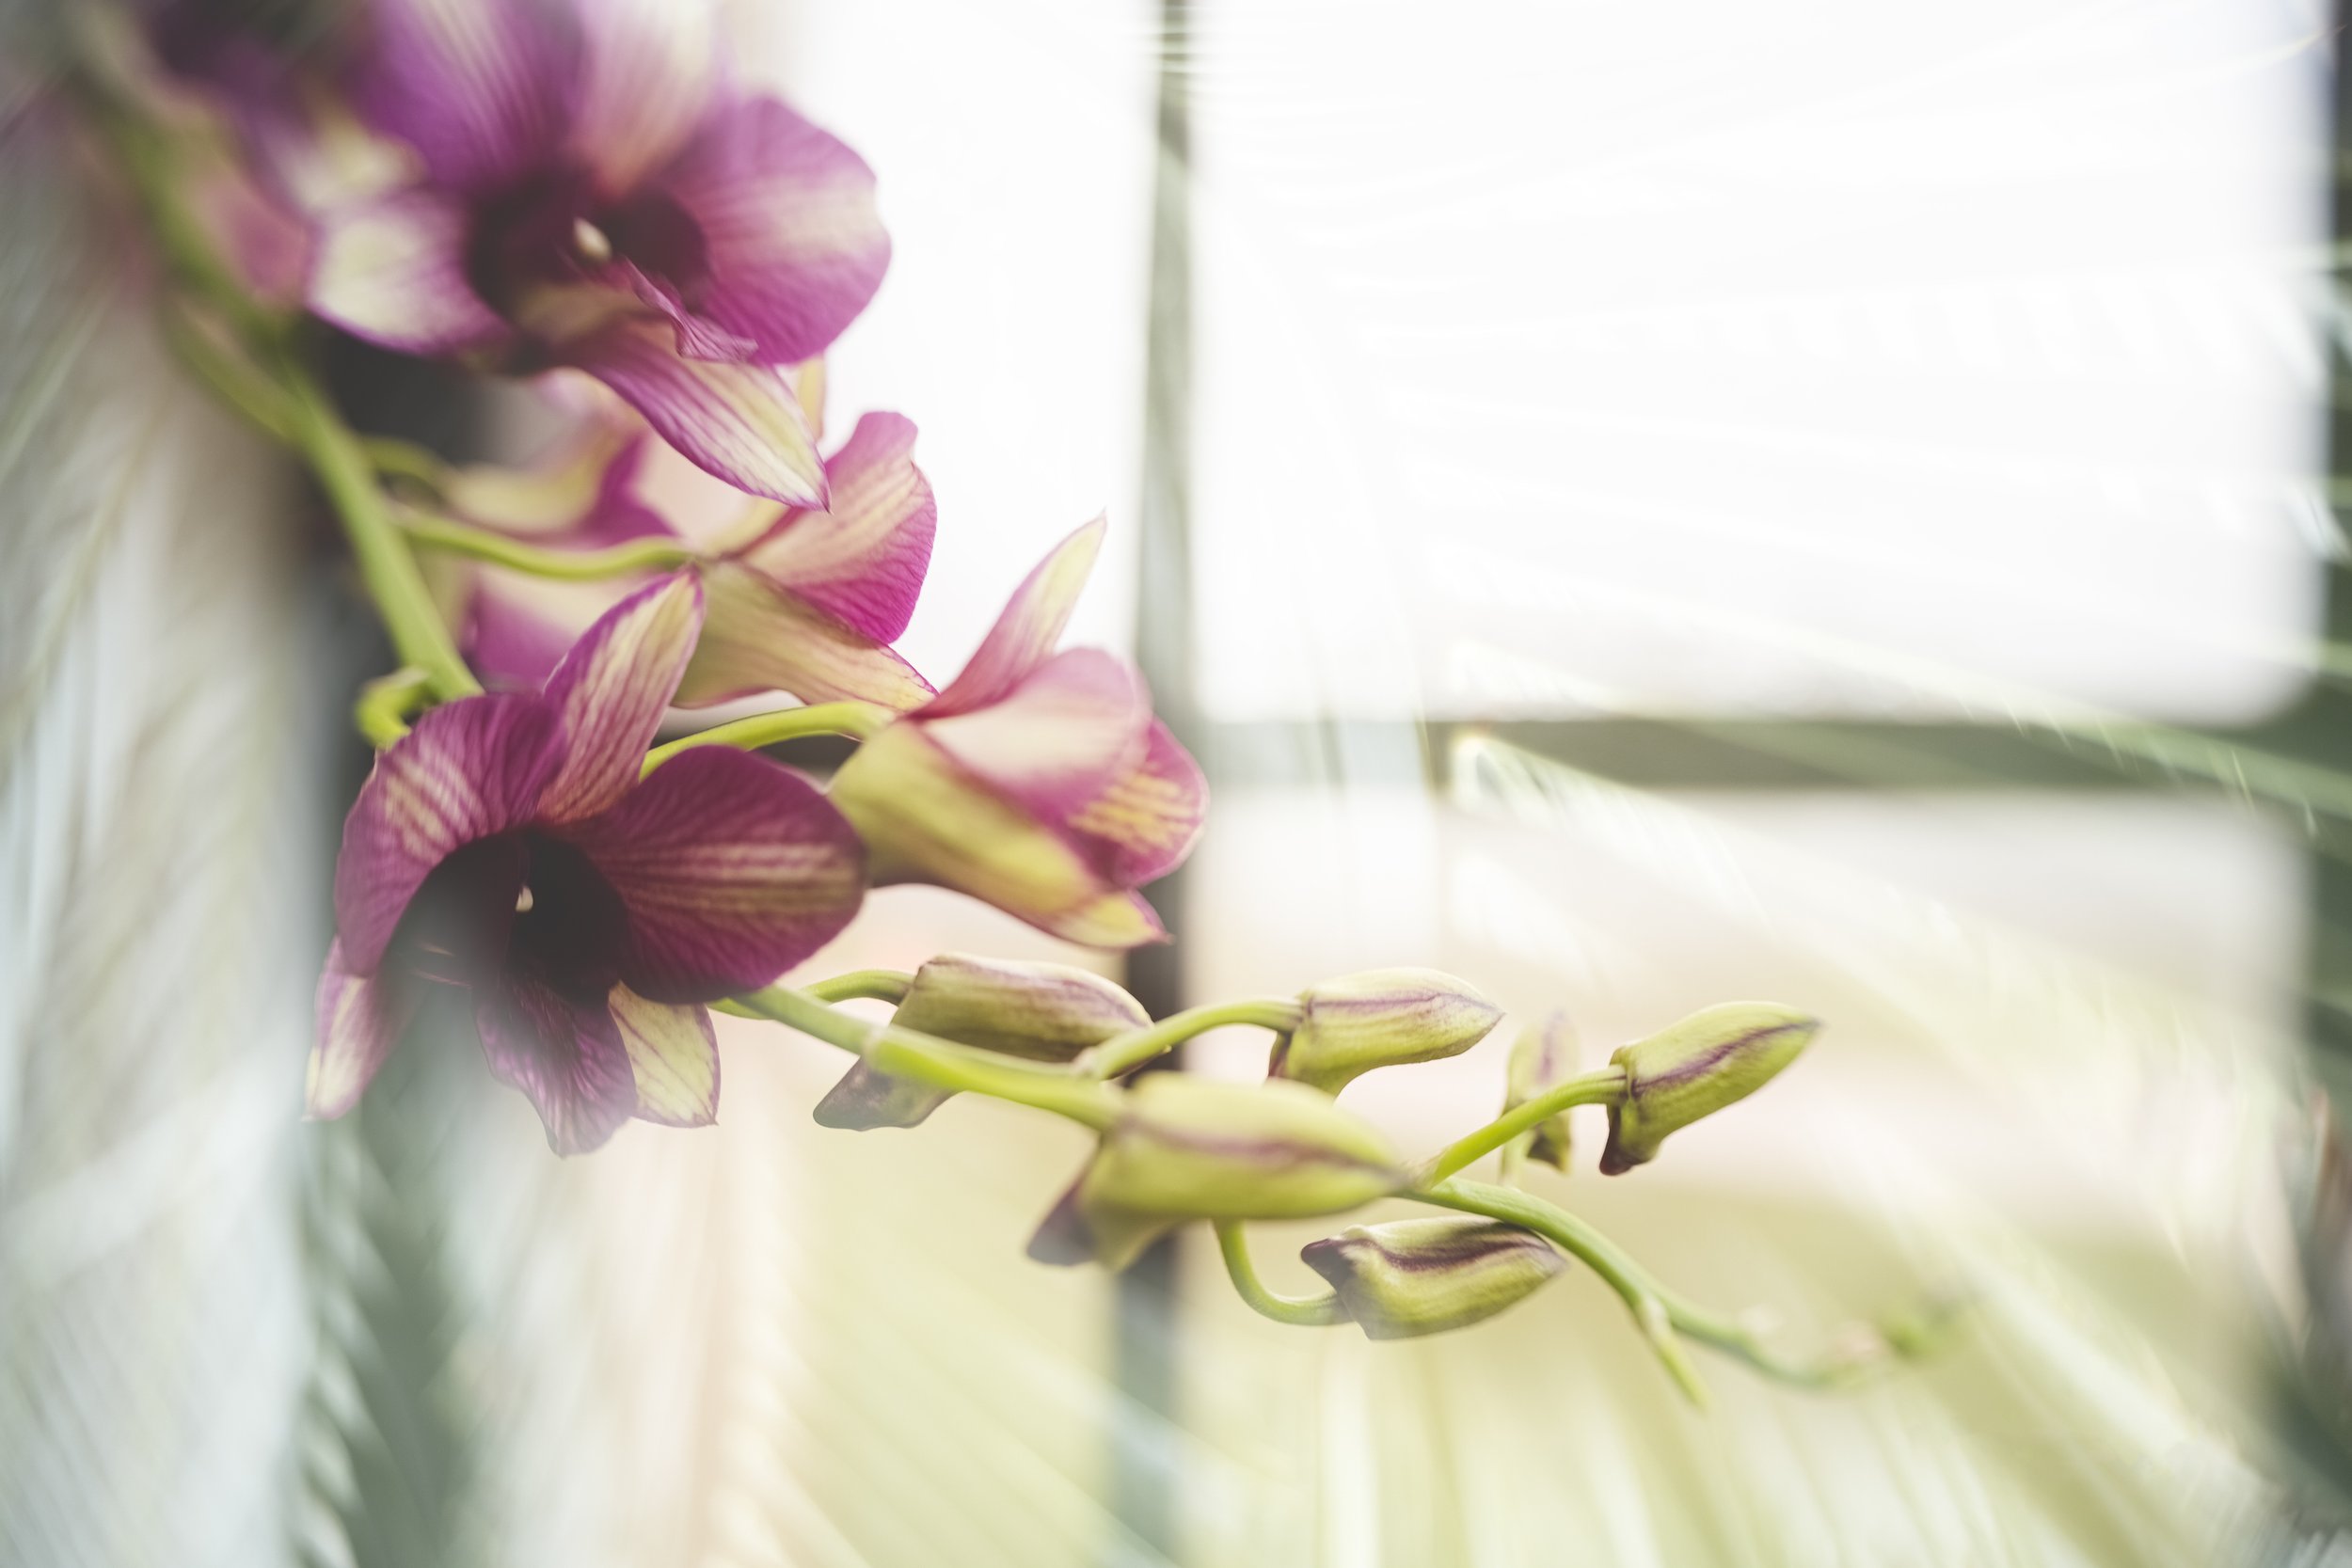
I write blog posts for Lensbaby!

So since becoming an ambassador I have started writing blog posts for Lensbaby! I usually share the links on my social media accounts but I want to start sharing them here as well! I have a friend in my Insta loops that just gave me the nicest compliment! (Thanks Kat!) and I decided that I should add my blog posts here as well! I’ll them add as time allows, so feel free to check back and see if I have updated any of them. Also feel free to check out Lensbaby Inspiration Center for all their blog posts! I love reading to see what other ambassadors are sharing and learn along the way as well!

Come!  Be part of a community!

Community.  The definition means many different things to many different people, but I think there is one common thread that runs through it all. Belonging.  When you’re  part of a community you belong to something bigger than yourself, whether you realize it or not.  Your presence in that community affects others even if you keep to yourself.  For example, even if you consider yourself a private person, most likely you still have get groceries which means going to the store or, maybe,  getting them delivered.  How though is delivery being part of a community. Think about it.  Someone is picking them out, bagging them up and delivering them to you.  So while you might not actively be involved, your presence affects others in your community. You’re still another car on the road, or a person in line. Or you’re allowing jobs for the people who facilitate the delivery.  For most people though, community is a bigger part of their lives and they are involved in many different types of communities.

When I think about my life there have the towns or communities in which I have lived. The schools I attended.  The jobs I have had.  The activities in which I have participated in those areas.  The church communities that have grounded me.  Add my kids to this picture and now I’m part of their communities as well, in one way or another, depending on how I choose to support those activities.  These are all ways of making social connections or being part of something bigger than yourself.  Or shall I say…being part of the greater good. There are times when you can be an integral  part of those communities you participate in and times when you’re on the periphery.   Not everyone gets involved in communities in the same way or to the same extent. That’s totally okay.  Within those communities you can give of your knowledge or time and/or take and learn from someone else.  We all have our strengths and those are the skills we can, and possibly should, be sharing.

Most of us have a hobby, of some sort, we enjoy.  One of my family members plays chess.  I can remember when he was teenager or young adult he would play by mail.  Seriously.  They would send post cards to each other with their next move.  Yeah, I’m dating myself here.  That’s back when long distance phone calls where  really expensive and long distance meant  more than 50 or 100 miles away and there was no internet.  So those like minded people found a way to enjoy their common interest with people around the globe.  Thankfully we have it much easier today!

That’s one thing I love about my hobby, which, if you weren’t aware, is photography.  I love having a camera in my hands and while I don’t need to be with anyone else to create or enjoy my work, I have those options available to me locally and around the world, thanks to the internet!   Each of these groups have given me valuable experiences and connections.  They allowed me to meet and interact with people, to share my story and to listen to theirs.  These by far are some of my most inspirational communities.

Currently, I consider my Lensbaby communities among my all time favorites!   I am in awe of how much support I feel from the wonderful people involved.  The sharing of knowledge, the lack of competitiveness, and the inspiration all makes this a wonderful journey.  As a Lensbaby Ambassador  I am fortunate to have other ambassadors within a couple hours drive from me.  Those online friendships we first developed are now in-person friendships.  We meet up and shoot together and feed off of each other!  I’m learning from people young enough to be my children. Yeah…there I go dating myself again, but I’m secure enough to know that I don’t know it all and they have experience I don’t, so why would I shy away?  We all can continue to learn and grow from each other.  I don’t want to grow old and become stagnant.  I want to grow old and enjoy the ride!  This hobby fills a part of my soul and being a part of this community of people who feel the same is important to me.

If you’re reading this, most likely, photography is one of your hobbies too.  And maybe you’re even part of the Lensbaby community.  Even if you’re not, I hope you find the same support and connections I have since finding my tribes!  You might have to look around a bit to connect with the right people. They’re out there.  Trust me.  Look for those people whose interests are similar to what you enjoy or to what you aspire to do or be.  Study, ask questions, and pass on the knowledge you’ve picked up! Give back in way that is meaningful to you!  Let what you do fill your soul and then allow it to overflow so someone else can benefit from your efforts as well!  Be a part of a community!  I’m betting you’ll find it rewarding!   

Congratulations! You bought a Lensbaby! But now what?????


So all those creative blur, selective images you’ve been seeing recently grabbed your attention and sparked your curiosity.  You researched.  Asked questions.  You made a decision you hope is the correct one. You purchased a Lensbaby.  But what now?  What is the best way to get started?  In this post I’ll guide through how to begin so you’re less frustrated and don’t want to toss the lens in a drawer for another day or put it up sale as a “barely used new lens.”   


I speak from experience here.  I purchased my first Lensbaby optic with the original Composer Pro quite a few years ago.  Many photographers were having success and posting their results in an online photography forum I frequented.  I had a little bit of FOMO (fear of missing out) and not much of a budget so when this used Composer and Double Glass optic showed up on a used equipment site I bought it.  I tried it.  I was almost instantly frustrated and I didn’t know where to turn for help.  So the Composer and the optic ended up in a drawer.


A few years later I took a macro class where the instructor recommended the Velvet 56.  I loved her work so I saved up until I could buy one of my own.  This started me on a path of wanting more, but that frustration didn’t immediately disappear when I bought another lens or a new optic.  I needed to understand the mechanics behind a lens I could rotate for it to make sense.  I needed to understand how my choice of aperture would affect my image.  Once I figured it out, I was on my way to a full blown love of selective focus!


One of  the features of almost all Lensbaby lenses is that they have a range of apertures to choose from.  With the exception of the Sol series, which has a fixed 3.5 aperture, the others allow you to shoot from wide open to closed down.  You get all the effect to none of the effect.  Most people, myself included, grab a new lens, open the aperture up and try shooting wide open.  And we’re disappointed.  My lack of knowledge of the workings of the lens slowed me down .  I tried several different things, not really understanding how my actions were affecting my image.  I moved that Composer up, down, left, right and tried again.  I was positive it was the lens.  Not me.  I knew what focus looked like.  I just couldn’t find  it in my work. Something else that hindered me overcoming this was when I reviewed my work on my computer I had no idea which way I pulled or pushed my Composer.  The results were confusing.


Then one day I accidentally happened across someone’s recommendation to close down and to stop tilting that Composer.  They were onto something.  I closed down to f/8 and quickly found focus.  I wasn’t getting a lot of effect but I was learning how to use the lens.  Then I tried 5.6 and 4.  Now we were getting somewhere!  The tilting though still puzzled me at first.  I love how it pulled the blur and the bokeh but what I wasn’t fully cognizant of when I pulled or pushed the lens was the fact that  I needed to be looking in that direction  because I was changing the plane of focus. With that new piece of information when I pushed up/down/left/right, that’s where I would look to find focus.  Light bulb  moment for sure!   


Another technique to help find focus is to use a tripod and close down.  Find your focus at f/8 and then change your aperture without refocusing your lens.  This is a little bit tricky.  You’ll have to hold the end of lens very still with one hand while rotating the aperture ring with the other.  It might be helpful to try it out a few times while you are not actively shooting and while you’re holding your camera in your hands or on your lap!


Anther part of my frustration came from the fact that I wasn’t intentionally trying to compose my work in camera.  I was just looking at a scene and trying to make something of it by adjusting my aperture and rotating my Composer.  It’s here the work began.  I set myself up in a plain scene.  Nothing fancy.  I shot straight ahead at f/8, then f/5.6 and down to whatever wide open was on that lens.  Then I decided to compose my image so my subject  was on the left side of my frame.  I rotated the Composer to the left and used the same pattern shooting at f/8 and down to wide open, making sure I had focus where I wanted it to be.    My movements  of the Composer to the left/right and up/down were small at first and then I moved further in each direction.  It didn’t take long before I became comfortable shooting wide open and having my subject anywhere in my frame I wanted it to be.  This is more difficult with some cameras and definitely when looking through the view finder.  Using Live View, if available, or Focus Peaking on a mirrorless camera can be really helpful. However,  I prefer to use my viewfinder as I am more stable with the camera directly over my elbows and close to my body so I had do a little bit more work to so to see in camera, but it’s definitely doable.  It just takes a little practice.   


Finding focus with the  Sol series is similar.  You can rotate the Sol left/right and up/down or diagonally.  When you tilt the lens up, your area of focus will be towards the top.  Tilt it right and that’s where you’ll find your area of focus.  With a fixed aperture of 3.5  you can’t change the amount of blur in your images but since having that selective focus is the reason most of us choose Lensbaby, it’s really only one less decision you have to make!


When you begin creating with a fixed lens such as the Velvet series, the Burnside or an optic in a straight housing such as the Soft Focus ii I would still suggest a mid-range aperture of f/5.6 or f/8 at first.   Once you’re comfortable finding focus there, then start opening up, stop by stop.  It is possible to get focus in places other the center of your images with those lenses by angling your camera  and moving your plane of focus away from being completely parallel with your subject.  It’s take a little practice, but it’s a skill worth developing!


Let’s talk a little bit about the exposure triangle when creating with a Lensbaby.  If you’re not totally comfortable shooting in manual mode you can try shooting in aperture priority mode if you camera allows that.  When shooting in aperture priority, your camera is deciding your shutter speed.  You can also select your ISO based on your lighting conditions or chose auto ISO if that is a feature of your camera. By selecting aperture priority and auto ISO, the only decision you have to make is the aperture and of course, your composition!  All of this does not apply with the Sol series, but you can read on for more information!


Recently, I bought the Sol 45 and took it for a walk.  I put my camera in aperture priority, used auto ISO and since the lens is a fixed 3.5 aperture, all I had to do was decide how to compose my image and what I wanted my subject to be and focus.  It was a very freeing experience.  I would recommend this for anyone new to photography.   


If you are comfortable shooting in manual mode then any Lensbaby will work for you!  You’ll just have to play around with finding focus and selecting how much of an effect you want to see.  There will still be a bit of a learning curve, but with a little practice and patience you should be able to figure it out!   


Hopefully by explaining little bit about how Lensbaby lenses/optics work I  have taken a little bit of the mystery out of it for you.  There can be a learning curve but understanding the basics of how to start and why will go a long way to finding your voice and to helping your shoot extraordinary!   


Still have questions? Feel free to reach out! Use the contact form here or find me on social media! I’m happy to answer your questions or address your concerns!

How to Omni!

Lensbaby Ambassadors have been doing Omni GiveAways for three months now! September is the last month! A few questions have popped up about how to use the Omni and how to attach the Omni ring and the wands so I did a video for you today! In this case a picture is a lot more valuable than words! Let me know if you have any questions! You can use my ambassador code WKUHLMAN for 10% off most items. Here’s my affiliate link Happy shopping!

So you bought a Lensbaby! But now what.....

So all those creative blur, selective images you’ve been seeing recently grabbed your attention and sparked your curiosity.  You researched.  Asked questions.  You made a decision you hope is the correct one. You purchased a Lensbaby.  But what now?  What is the best way to get started?  In this post I’ll guide through how to begin so you’re less frustrated and don’t want to toss the lens in a drawer for another day or put it up sale as a “barely used new lens.”   

I speak from experience here.  I purchased my first Lensbaby optic with the original Composer Pro quite a few years ago.  Many photographers were having success and posting their results in an online photography forum I frequented.  I had a little bit of FOMO (fear of missing out) and not much of a budget so when this used Composer and Double Glass optic showed up on a used equipment site I bought it.  I tried it.  I was almost instantly frustrated and I didn’t know where to turn for help.  So the Composer and the optic ended up in a drawer.

A few years later I took a macro class where the instructor recommended the Velvet 56.  I loved her work so I saved up until I could buy one of my own.  This started me on a path of wanting more, but that frustration didn’t immediately disappear when I bought another lens or a new optic.  I needed to understand the mechanics behind a lens I could rotate for it to make sense.  I needed to understand how my choice of aperture would affect my image.  Once I figured it out, I was on my way to a full blown love of selective focus!

One of  the features of almost all Lensbaby lenses is that they have a range of apertures to choose from.  With the exception of the Sol series, which has a fixed 3.5 aperture, the others allow you to shoot from wide open to closed down.  You get all the effect to none of the effect.  Most people, myself included, grab a new lens, open the aperture up and try shooting wide open.  And we’re disappointed.  My lack of knowledge of the workings of the lens slowed me down .  I tried several different things, not really understanding how my actions were affecting my image.  I moved that Composer up, down, left, right and tried again.  I was positive it was the lens.  Not me.  I knew what focus looked like.  I just couldn’t find  it in my work. Something else that hindered me overcoming this was when I reviewed my work on my computer I had no idea which way I pulled or pushed my Composer.  The results were confusing.

Then one day I accidentally happened across someone’s recommendation to close down and to stop tilting that Composer.  They were onto something.  I closed down to f/8 and quickly found focus.  I wasn’t getting a lot of effect but I was learning how to use the lens.  Then I tried 5.6 and 4.  Now we were getting somewhere!  The tilting though still puzzled me at first.  I love how it pulled the blur and the bokeh but what I wasn’t fully cognizant of when I pulled or pushed the lens was the fact that  I needed to be looking in that direction  because I was changing the plane of focus. With that new piece of information when I pushed up/down/left/right, that’s where I would look to find focus.  Light bulb  moment for sure!   

Another technique to help find focus is to use a tripod and close down.  Find your focus at f/8 and then change your aperture without refocusing your lens.  This is a little bit tricky.  You’ll have to hold the end of lens very still with one hand while rotating the aperture ring with the other.  It might be helpful to try it out a few times while you are not actively shooting and while you’re holding your camera in your hands or on your lap!

Anther part of my frustration came from the fact that I wasn’t intentionally trying to compose my work in camera.  I was just looking at a scene and trying to make something of it by adjusting my aperture and rotating my Composer.  It’s here the work began.  I set myself up in a plain scene.  Nothing fancy.  I shot straight ahead at f/8, then f/5.6 and down to whatever wide open was on that lens.  Then I decided to compose my image so my subject  was on the left side of my frame.  I rotated the Composer to the left and used the same pattern shooting at f/8 and down to wide open, making sure I had focus where I wanted it to be.    My movements  of the Composer to the left/right and up/down were small at first and then I moved further in each direction.  It didn’t take long before I became comfortable shooting wide open and having my subject anywhere in my frame I wanted it to be.  This is more difficult with some cameras and definitely when looking through the view finder.  Using Live View, if available, or Focus Peaking on a mirrorless camera can be really helpful. However,  I prefer to use my viewfinder as I am more stable with the camera directly over my elbows and close to my body so I had do a little bit more work to so to see in camera, but it’s definitely doable.  It just takes a little practice.   

Finding focus with the  Sol series is similar.  You can rotate the Sol left/right and up/down or diagonally.  When you tilt the lens up, your area of focus will be towards the top.  Tilt it right and that’s where you’ll find your area of focus.  With a fixed aperture of 3.5  you can’t change the amount of blur in your images but since having that selective focus is the reason most of us choose Lensbaby, it’s really only one less decision you have to make!

When you begin creating with a fixed lens such as the Velvet series, the Burnside or an optic in a straight housing such as the Soft Focus ii I would still suggest a mid-range aperture of f/5.6 or f/8 at first.   Once you’re comfortable finding focus there, then start opening up, stop by stop.  It is possible to get focus in places other the center of your images with those lenses by angling your camera  and moving your plane of focus away from being completely parallel with your subject.  It’s take a little practice, but it’s a skill worth developing!

Let’s talk a little bit about the exposure triangle when creating with a Lensbaby.  If you’re not totally comfortable shooting in manual mode you can try shooting in aperture priority mode if you camera allows that.  When shooting in aperture priority, your camera is deciding your shutter speed.  You can also select your ISO based on your lighting conditions or chose auto ISO if that is a feature of your camera. By selecting aperture priority and auto ISO, the only decision you have to make is the aperture and of course, your composition!  All of this does not apply with the Sol series, but you can read on for more information!

Recently, I bought the Sol 45 and took it for a walk.  I put my camera in aperture priority, used auto ISO and since the lens is a fixed 3.5 aperture, all I had to do was decide how to compose my image and what I wanted my subject to be and focus. NOTE: Putting my camera in aperture priority does not work with my mirrorless camera and I don’t know if it works with other brands. I’d say to try it and see! If not, you’ll have to select your shutter speed. Just make sure it’s fast enough to prevent camera shake! I’d suggest no lower than 1/100 second as a beginner or if your hands aren’t steady. You may be able to slow that down as you become more experienced.   I would recommend this for anyone new to photography.   

If you are comfortable shooting in manual mode then any Lensbaby will work for you!  You’ll just have to play around with finding focus and selecting how much of an effect you want to see.  There will still be a bit of a learning curve, but with a little practice and patience you should be able to figure it out!   

Hopefully by explaining little bit about how Lensbaby lenses/optics work I  have taken a little bit of the mystery out of it for you.  There can be a learning curve but understanding the basics of how to start and why will go a long way to finding your voice and to helping your shoot extraordinary!   

A little about the Lensbaby Sol 45!

Last year I posted this video on Facebook but I thought it might helpful to post it here on my blog as well for those of you asking questions!

I resisted buying this little gem at first, but I realized quickly this is a great starter lens, especially if you’re not used to shooting in manual mode. With any Lensbaby lens you have to focus. There is no electronic communication between your camera and the lens, so there is no auto-focus feature available. As for figuring out how to set your camera for the exposure triangle, it’s fairly easy with this lens. You can set your camera to auto ISO and then just choose your shutter speed. The lens is a fixed f/3.5 so your aperture has been chosen for you! I will recommend that you don’t shoot slower than 1/100 sec at first.

Once you get into a rhythm with this lens you’ll quickly find yourself looking for the next one!


Spring brings renewal in so many forms!

Warmer weather has hit the Northeast recently! Along with tha,t a laundry list of to-do items that keeps me busy and I’m sure keeps you busy as well! I took a little “break” from social media for about a week, but didn’t drop out completely. I had more time to work on the above mentioned list. I find checking things off motivates me to get more done. The gardens are weeded for the most part and awaiting warm enough weather to risk planting annuals. A trial of starting my own seeds isn't going so well, but I’m learning! Getting the deck cleaned up and the furniture out to enjoy is done weeks earlier than usual! I knew this would be the time of year that I would enjoy retirement the most!

Lensbaby Double Glass ii plus the Omni Melon wand!

This week I took time to visit two gardens. The first is Chanticleer in Wayne. I’d been before but not in the spring. Not in the explosion of color I found! I think I walked around this beautiful oasis with my jaw on the ground. Each path I took, each brook I walked beside, each patch of spring bulbs or flowering joys brought new joy to me! I couldn’t decide if I should just walk to enjoy it or pull out my camera to create in the beauty. I chose the later! The walk energized me! I felt more creative and had more courage to try new techniques!

One of the easiest ways to use Lensbaby products is with the Omni Creative filter system! The above image was created using the Omni Melon crystal wand! The facets in the crystals can create some intense colors in an image! In case you’re wondering, the sky was blue, not not quite that blue! I love the depth the color adds to my image!

A double exposure in post processing with the Lensbaby Double Glass ii

After my visit to Chanticleer I met up with friends at Longwood! There I was able to borrow an Lensbaby Optic I don’t currently own. I know, I’m an Ambassador but I don’t own all the things, at least not yet! I’m getting there! The Lensbaby Twist 60 has not been on radar until now. After less than an hour, I was wondering where it had been all my life, or at least the for the last five or so years! The swirl of bokeh is so fun, so romantic, and frames subjects so well! Because I was in the mood to explore and create I played around with ICM, intentional camera movement, and double exposures. Like all new adventures I wasn’t quite hitting the mark for my double exposures. My Nikon Z7ii allows me to save each single image and then it save the in-camera blended image as well. This is the only time when 1 + 1 = 3! I take two pictures and get three back! But what happens when I’m not thrilled with how my camera sees things? I take a couple of images into Photoshop and create magic there! That’s what happened to image above at Chanticleer!

An in-camera Double Exposure with Lensbaby Twist 60

Here’s an image where the in-camera double exposure, worked to my liking! I created one layer using ICM or intentional camera movement and then a still image. The camera did the processing work for me here and I’m thoroughly enjoying it!

Having success is motivation to keep trying new things, trying new gear and growing! If you’re interested in learning more about Lensbaby, multiple exposures or intentional camera movement, please reach out! You can use the contact form above or find me on IG at @cathyalicephotography. I hope you find a way to bring growth and renewal to your life!

As a Lensbaby Ambassador I can offer for you to enjoy a 10% discount on most items (except new releases and some sale items) with the code WKUHLMAN! Then let me know what you bought

In Camera Multiple Exposure!

Wow! That sounds a little scary. doesn’t it! I think so, or rather I did until I started playing around with it! The technique is basically just as it says. It’s a multiple exposure image done in camera. While you’re still composing the images and selecting the settings there are still things you can’t do that you could do if you were creating a multiple exposure in post processing. You can mask out part of an image or most of an image. You can edit the image before using it. When doing it in-camera though, those options aren’t exactly readily available.

You’ll have to check your camera manual to see what options you have available to you. Many of the newer mirrorless models have a lot of options but the older you camera the more limited your options are, most likely. You might be able to do two images or nine. You might have the option of a few blending modes or two.

As usual I didn’t do a whole lot of research. I just jumped in and started playing. I didn’t have a lot of keepers or any if I’m being honest! But I had my camera in my hands and was trying to understand what all the fuss was about! From my disorganized way of experimenting I realized two things right off the bat. Trying for a double exposure first was going to be the easiest. And using my camera’s option of average mode was also going to make my life a bit easier. When using average your camera will average the exposures out. You see I tried “add” first and wondered why all my images were over exposed. This is why your camera manufacturer gives you a manual. I’m learning too!

I haven’t mentioned lenses yet and for good reason. I’ve had a little success with every lens I’ve tried so far. I haven’t tried a long zoom yet though, but that doesn’t mean I won’t try it. Who knows. I might like it! I have tried using one lens for the first image and different lens for the second image though. This is not possible with all cameras so check your manual but think of the fun if your gear allows! I have used my kit 24-70 f/4 Nikon Z lens, but only once. The rest of the time I’ve played with the Lensbaby Double Glass ii and the Velvet 56. I plan to explore with the Edge series though….think of possibilities using that sliver of focus!

There are several ways to do multiple exposures. Some people use the darker areas as a window if you will. Think of a silhouette of a person where another images shows up in what would have been the darkened area of a person. Some people like to do one in focus and one out of focus image. Some like to line them up next to each as I have done above with this four image multiple exposure! There’s no right or wrong. There’s what makes you happy. While it’s easy to teach this technique it’s not always so easy to teach what images work well together because while it might work for me, it might not work for you. And vice versa! So what’s my advice to you? Just play with it. But start by bringing a lighter subject in through a darker area of a different subject! Then go from there!

It's here! It's here!

Finally! It’s here! And I’m in love! The Lensbaby Double Glass ii optic is a new favorite! I’m so glad that I can finally share the images I took with this optic! Knowing I don’t have to be careful when I’m out in public and can talk about all the good things this optic offers that its predecessor did not have makes me so happy! I’ll share an image here but if you want to know more you can read thoughts posted on the Lensbaby website here!

ISO 100f/41/125sec Nikon D750 and Lensbaby Double Glass ii

Getting over the January Doldrums.....how do you do it?

This has always been a tough time of year for me. Shorter days. Less sunlight. Colder temperatures. They all factor into the blahs! I diagnosed myself with SAD (seasonal affective disorder) many years ago. When I realized what was causing it, I did my best to find a way to spend more time outside soaking up the sunlight and the vitamin D it provides. I used to volunteer to do recess at school. Yes please! Don’t care that it’s cold. That’s what coats and mittens are for!

I’m retired now so I can’t volunteer for recess which means I have be more creative about spending time outside. I do love to walk and try to do just that several days a week, but it’s not motivating enough to keep me outside for as long as I think I should be. This is where my camera comes in!

Nikon Z7ii | Lensbaby Edge 35

I joined a local camera club this time last year. They hold monthly outings that we can attend to get those creative ideas from our heads onto a computer and hopefully shared so others can enjoy them as well! Earlier this month our outing was scheduled for the Strasburg Museum. If you’re not familiar with Strasburg Railroad , it’s a “heritage” train station in Ronks, Pennsylvania and houses Thomas the Tank Engine and authentic steam trains! You can even take a 45 minute ride on the steam trains. There is also a museum with old train cars, which was supposed to be the focus of our time, and an indoor replica of a vintage town. It was very charming but my favorite part was a walk across the street to watch the trains come and go! I took it one step further and drove down the road a bit for a more unobstructed view of the train returning the station!

Nikon Z7ii | Lensbaby Edge 35

On this trip I focused on using my Lensbaby Edge 35. It gives a slice of focus, in any direction you choose, and blurs of the rest of the image. Using a wide aperture this technique directs your attention to the portion of frame the photographer is trying highlight!

Being outside on this chilly winter day was wonderful! I was enjoying the cooler air, a little bit of sunshine and being creative! What’s your go to?

Merry Christmas everyone!

We all know that Christmas can be a magical time of year and it should be. Sometimes the business of the season can take over and make life stressful though. I made it a point to slow down a bit this year. I started my prep a little earlier and did a little bit each week. That included taking my camera for walks.

I’ve been to Longwood a few times. Once with the The PhotographyWorkshop in West Chester! Mark run a class at Longwood. The image above was inspired by one of the students I met that night!

I had a blast working on my ICM or intentional camera movement techniques!

I limited myself to one or two lenses each night. On this trip I used my Lensbaby Burnside 35. It’s a discontinued lens but you may still find some new in retail stores or even used in some places.

My Lensbaby Velvet 56 came in handy when the weather was not ideal and I needed a macro fix! A wonderful neighbor up the road has started a flower farm and she gifted me a bunch of dried flowers. This broom corn was in the bunch and I challenged myself to find a creative way to tell a story with it! Thanks renegadeflowerfarm!

I hope you all found a bit of peace this season! I’m going to enjoy the next few days and weeks much the same way by slowing down and taking it all in! Wishing you all a wonderful new year!

Happy Thanksgiving Everyone!

It’s that time of year when we are reminded of the many things we grateful for, such as family, friends, health, and fun things to do! It’s also the official beginning of the “holiday season!” So many different celebrations over the next few weeks and before you know it, it’s the middle of January and we’re wondering were the time has gone and when the days will get longer!

I’m not sure about your traditions but I’ve always been a staunch supporter of waiting until after Thanksgiving to start the celebrations for Christmas. One holiday at a time! My fall decorations are still up, but there is a growing pile in the corner of my dining with a few gifts and Christmas items that you have to pick up as soon as you see them in the store or they’ll be gone when you get back. Trying not to pay attention to the sales has been difficult. It’s the whole FOMO thing! Paying more for something after Thanksgiving that was as inexpensive as I have seen it before the holiday seems a bit silly! So yes, purchases were made and the wish list grew!

If there is a photographer on your list I have a deal for you but you don’t have to rush to grab it today! Lensbaby is having their annual sale through Cyber Monday! Discounts like I’ve never seen before! To add to the excitement they’re letting you take an additional 10% with my discount code.

All products under $300 are 25% off. All products over $300 are 35$ off! Add another 10% to that with the code WKUHLMAN at checkout!

Not sure what to buy? Use the contact form and I’ll help you out!

If you’re not into photography, it’s quite alright! I hope you enjoy the images I share! Wishing all my followers a very Happy Thanksgiving!

Enabler Alert!!

I don’t know about you but I have always loved a good sale! My memories of shopping go back to before I was the one shopping! I come from a large family and when I was 10, and again at 14, I welcomed two new brothers into the family. I loved babysitting and helping to take care of my brothers. When my mom wanted to take advantage of sales during the holidays and wanted to shop without them, I got to stay home from school to babysit!

I continued this tradition of shopping sales every Black Friday when I had my own children! Even now that they are grown, gone and, more importantly, self supporting I still take advantage of sales! Who doesn’t love a good sale?

Today I’m going to share some great upcoming sale news with you! Lensbaby will having their Black Friday sale from November 25th-November 28th. So Black Friday through Cyber Monday you’ll get 25% off all products under $300 and 35% off all products over $300! AND you can stack my 10% Ambassador discount on top of that! All you need to use the code WKUHLMAN at check out! Easy peasy! Go make your wish list so you can tell your friends about your purchases, like this, when the box comes!

I'm a month into retirement!

I didn’t exactly have a plan when I retired. I have a list of things I’d like to do or should get done…you know….that chore list. There’s the type A part of me that wants to get the to-do list out of the way. I quickly realized that the list doesn’t end. As soon as I check off a chore or two, three more come to mind. All work and no play makes for no creative outlet. So I decided to find that type B part of me and go with a balance, sort of! I did take some time for go shoot and I try to take a little time daily to pick up my camera. I’ve also been working hard to get some of those chores done too. Having a family at my house was the motivation for that!

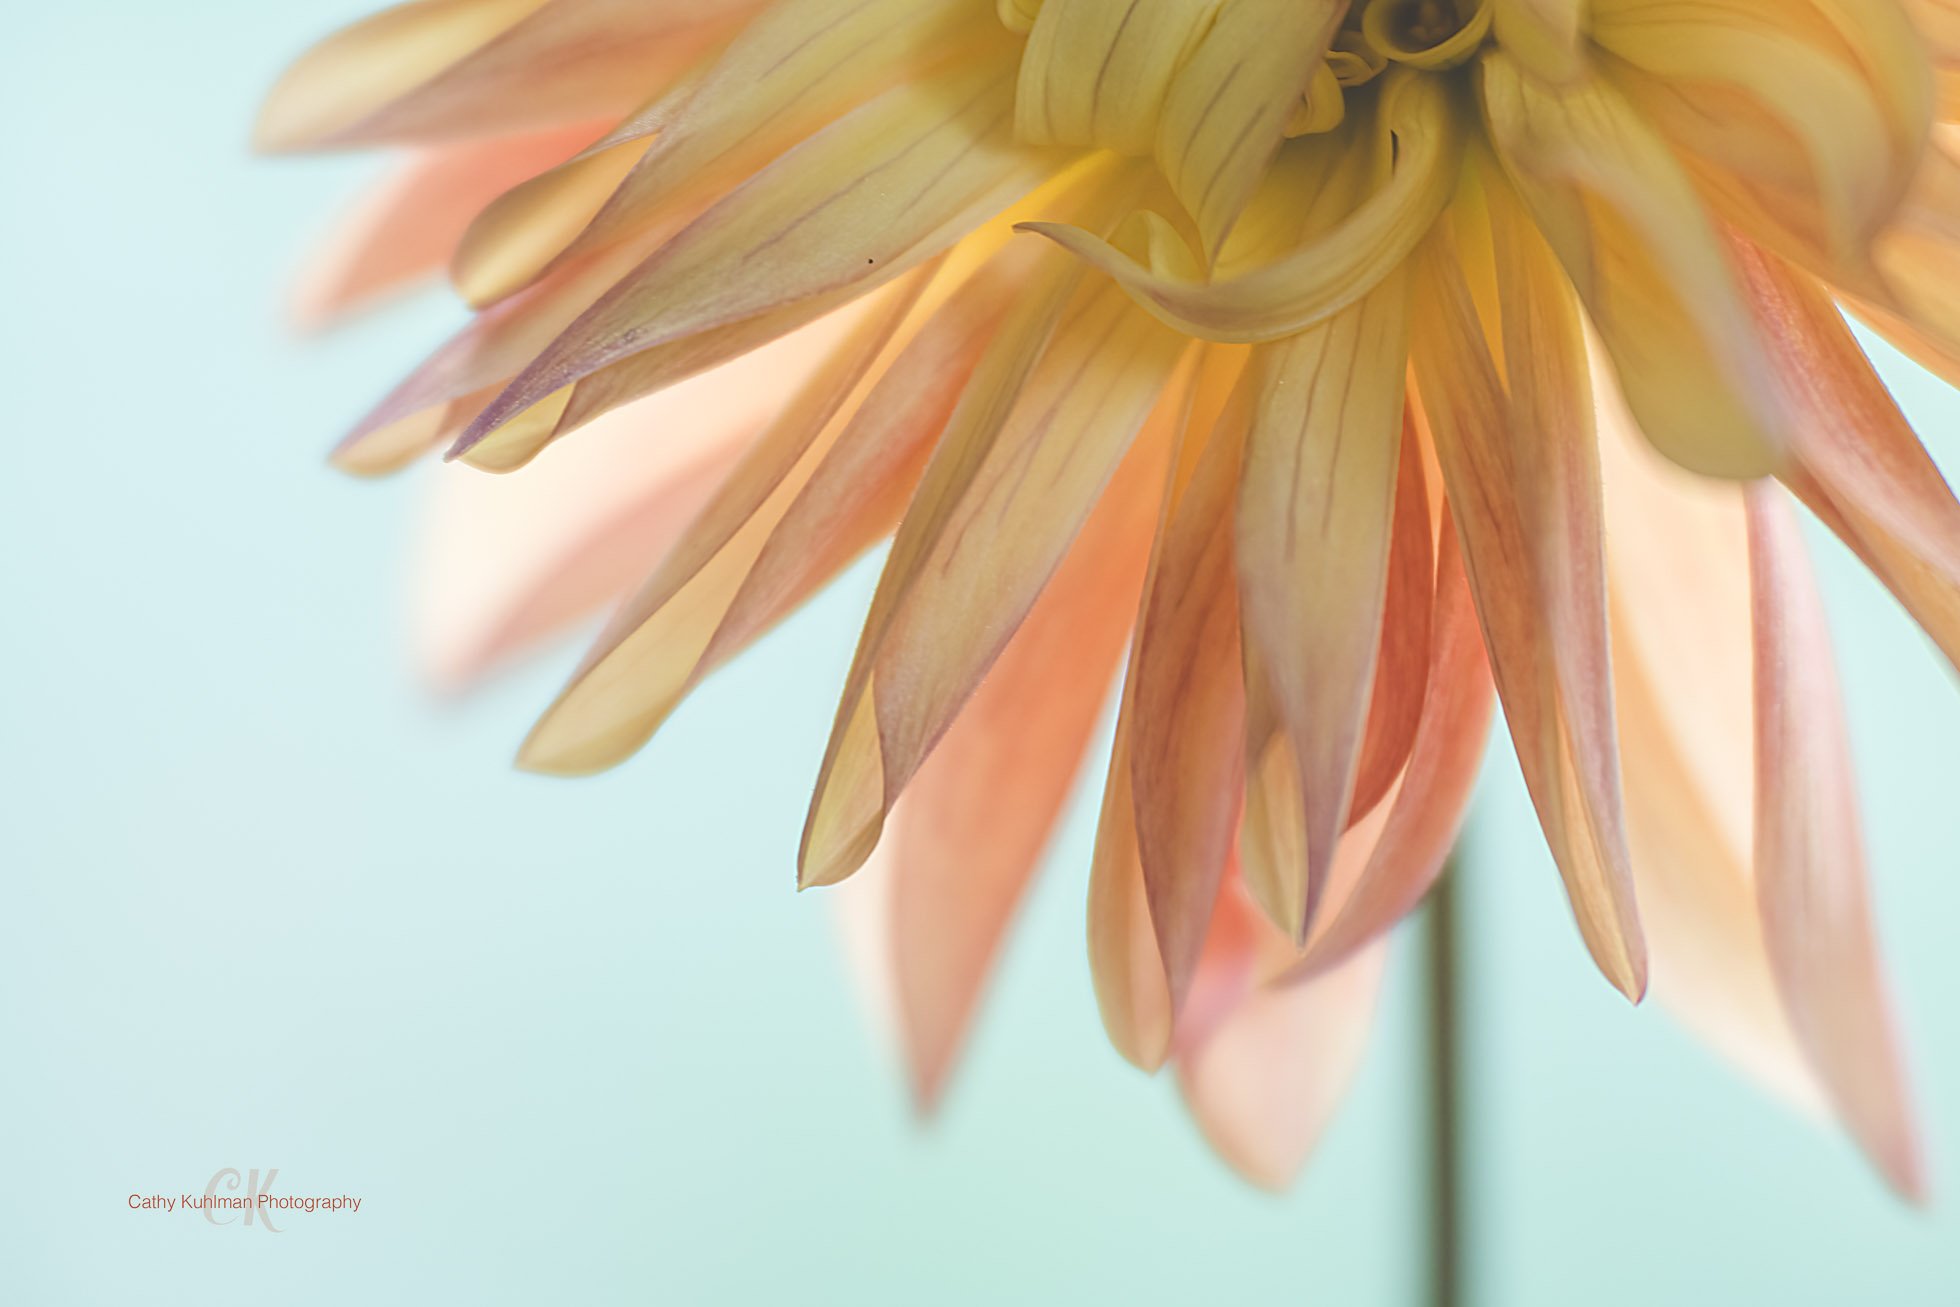
I had a lot of help with the components of the party. My nieces and nephew volunteered to to the decorations, paper products, and handle the games that day off, that my sister-in-law created for us. As part of the decorations I suggested flowers from the local flower farmer Renegage Flower Farm. I can tell you we were not disappointed! The picture above taken with my Lensbaby Velvet was one of the beautiful dahlia’s she grew!

These purple petals came from a dahlia I grew! That’s another part of the retirement plan…to spend more time gardening. There is something about putting my hands in the soil and tending to plants that centers me. I’m gonna need a lot more of that since I’ll have a lot more time to pick up my camera! Now I just need to figure out what to do when it’s cold outside! Stay tuned!

Hey! I'm teaching again!

Just a quick post today to invite you to join me at the Photography Workshop in West Chester (for my local-oh peeps) for my Embrace the Blur class! I’ll show you how to get one of a kind images. You’ll be able to stand next to a person using the same lens and you’ll come away with images that are not quite the same! Lerarn how! Check it out here!

A little BTS (behind the scenes) with the Lensbaby Velvet 56 and the Omni Seahorse Wand

Today I’m posting a video I created featuring the Omni Seahorse Wand. A week or so ago, someone in the Facebook Group “Lensbaby Unplugged” responded to one of my posts saying “I’d love to see you do that!” My first reaction was that I’ll set up my cell phone to video me shooting. But that doesn’t show you what I see. It does show you some things though, like how close I get and where I’m putting the Omni wands. So my dilemma was which is better. I wanted to try using my big girl camera for video so I will start by showing you what I see. Full disclosure, I hand hold my camera as I’m shooting so there is visible shake. I tried to keep it at a minimum. I also live under the flight paths of the closest airport thanks to the recent changing of flights paths. I shoot outside in the summer and want you to see exactly how I get what I get in normal places, not in a protected studio! Here’s the video! Let me know what you think!

If you have any questions, please use the link above for the contact form! To purchase use the code WKUHLMAN at checkout at Lensbaby . My code will give you 10% most Lensbaby products, except some sales and new releases.

Time...how much is enough?

So much of what I remember about summer time from when I was kid was not having so much of a schedule. No having to get up, eat breakfast, share space in the bathroom for showers and brushing teeth and doing my hair. Instead I remember helping my mom with the chores so after lunch we could head the pool! We belonged to the local swim club and we’d hang out there until it was time to go home so my mom could start dinner! With five siblings, the schedule was still there but a little looser in the summer! We didn’t have a worry in the world. We took life one day at a time.

Fast forward until now when my own kids are grown and gone and I’m no longer working! Having retired at the end of June I’m already looking forward to the benefits of not having to get up and go work, aka school, at the end of August. I’m already putting things off, because I’ll have “time” in the fall and it will be cooler then too! I’m already trying to convince myself that time is this infinite quantity I’ll have available to me. I know it’s not true.

“Life is short” is a quote I hear over and over. It’s true. It is all too short for many people. I don’t want to take it for granted, either. I read about the death of an awesome person that was a part of our lives when our boys were small. Our circles no longer cross paths as our children have grown and gone but that didn’t stop my heart and my head from thinking “But wait, he’s too young. He’s my age.” He lived life with a big smile and a happy heart. I can take a lesson away from that. Find the grace in what I have and find a way to make good use it!

Finding a meaning and purpose after retirement is not something I planned for. I figured that I’ll figure it out as I go! In the meantime I have this awesome hobby that I love! Maybe it will become more than a hobby, and I’d be okay if it did. I’ll be open to other opportunities too. I’ll also be taking my days and my time here on this earth a little less for granted. My days are not infinite, but they are priceless!

Since I can’t go without leaving you an image, here’s one of the many favorites from the Outer Banks, South Caroline taken with my Lensbaby Velvet 28 back in June! Use the contact form above if you have any questions! If you want to purchase a Lensbaby, use this link and the code WKUHLMAN for 10% off most products. Usually new releases and some sale items are excluded, but use the link anyway so they know I sent you!

I created a reel!

This was a fun, yet stressful, activity I’ve been wanting to try. Lots of people who create content for the web have gone in this direction. Many of the social media outlets have programmed the algorithms to favor reels and video posts. There’s a part of me that has a little FOMO (fear of missing out) but there’s a part of me that dislikes telling someone how long they can look at an image before it disappears from view. I personally find it a little frustrating and don’t really think that art is meant to viewed like this way.

But I digress. I’ll make a few just to see if, in the process, I change my mind. In this post, I won’t get into the how-to of making a video because, to be honest, I haven’t really figured out the best way to do it. It’s also time consuming to pick out which images and which music you want to use. All that being said, it is interesting to both hear music while you’re viewing images timed to the beat of the music.

I’ll leave the final decision up to you! What do you think?

These images were all created using the Lensbaby Burnside 35 and the Lensbaby Omni Creative Filter system. If you want more information, please ask! You can use the contact link in the header! If you want to purchase a Lensbaby you can use the link in my bio and the code WKUHLMAN at check! The code will get you 10% most Lensbaby products, except some new releases and some sales!

A video using the Burnside 35!

So a few days ago, I posted that I had ordered the Burnside 35. I did an unboxing video and posted it on social media but I also thought I’d share a little bit of the results here as well! I’m going to let the video speak for itself but if you have any questions at all, please, please, reach out! Use the contact form here ^^ in the navigation strip or DM me on Instagram or Facebook. My links are at the bottom! I have included some video shot with my DSLR and the Burnside. I am NOT a videographer but I thought might be fun to see what I was seeing as I was composing my images!

A new Lensbaby Lens for me!

So I did this thing last week. I bought the Lensbaby Burnside 35! One of my good friends loves this lens, so I decided to give it a try because the effects it produces are unlike any other Lensbaby product . While I have tried using many Lensbaby products and find things about all of them that make them worthy of owning, if you told me that you’d have to take them all away but one, I would say “Let me keep my Velvet 56. I wouldn’t have thought twice.

Yesterday I opened the box, did a quick unboxing video and went outside to find some flowers and started shooting. I quickly found how easy it is to change the vignette from strong to non-existent and the swirl for soft to more intense.

no vignette

full vignette

I even played around with video which I hope to bring to you soon. Hand holding my camera away from my face, keeping the camera still so viewers don’t get sea sick and finding focus is a challenging endeavor! In the mean time check out my IG or FB pages for more shares!

To purchase a Lensbaby product check out the link at the top of the page and it’ll get you 10% off most Lensbaby products at Lensbaby.com, including the new Soft Focus II Macro Kit!

What do you see?

One of the many fun things about photography is how many genres there are to quench your soul. For some people it’s all about portrait work, or sports, birds, nature or macro. For some it’s about all the things! For many of us it’s a constant need to learn new things, returning to the old from time to time to help us recharge from a rut or revisit something that brought us peace. Often, one genre just naturally leads to another and while we haven't given up on the past, we embrace the new with zest. I’m finding a new outlet for my creativity by experimenting with abstract photography and more specifically intentional camera movement (ICM).

Slot Canyon, near Paige AZ

Corolla, OBX, South Carolina

Flowers in my yard.

I don’t know about you but I love my macro work. It started with a need to practice the basics of learning how to shoot in manual mode on my camera. Flowers don’t move. They always have time for you. And they never complain. To tell you the truth, the older they get the more interesting they can become, They’re all full of texture, and curves and curls and deep color. Those textures and curves help you learn about light and shadow. Having learned the basics with flowers I moved outside to landscapes and finding beauty in my backyard. I’m to that point again where I crave something new and different.

Abstract photography is something that been around for a while. It’s something I used to walk past on a gallery wall because I didn’t truly understand the artist’s intention. Now though, I find it to be something that exercises my mind. It makes me spend time within the image. It feeds my curiousity. It makes me think about what I’m seeing.

I recently tried to find the definition of abstract photography and while there are many versions of it depending on where you look I found this from mymodernmet.com that helps to explain my view of abstract work. “…….abstraction takes place when a photographer focuses in on a fragment of a natural scene, isolating it from its context. By zeroing in on the color, texture, line, shape, geometry, symmetry, or reflection of a scene, that photographer warps our perception of the real world and familiar objects.” This resonates with how see abstract photography.

One of the techiques to achieve abstract photography is ICM. You need a long shutter speed and you move the camera while the shutter open to intentionally create a blurred image. There are some subjects that work well and are easy to achieve such as the ocean at sunrise or birch trees with their long white trucks. After that it gets a little more challenging to find that perfect movement. The fun is in the trying. Yes, there can be some failing or learning, at least, what not to do again. But never say “never” because on a different day in a different light with a different subject, it might just work.

There’s no limit to what subjects you can use for ICM. People. Landscape. Cityscape. Seascape. Nature. Flowers. Lights. It’s all fair game, as long as you’re being ethical and responsible in your techniques when creating your work. .

For the second image I used my Lensbaby Velvet 28 and for the last I used my Velvet 56. I love the soft blur I get with these when shooting wide open but I wasn’t shooting that way when I took these. I didn’t have the right light to do that. You also, don’t have to shoot ICM with a Lensbaby, but it’s definitely an option! If you’re at curious about what ICM I encourage you to explore a little online and find some artists who do this well. I’ll share more about the technical aspects in another blog post but for now, go exploring. Find some ICM work and then tell me “what did you see?”

I’ll leave you with two of my recent ICM images. What do you see?